
Settings in RM Mobile
RM Mobile includes a comprehensive Settings section that allows you to view server and shopfront information, manage staff profiles, customise the app appearance, configure data and backup options, perform maintenance tasks, and access support functions.
To access Settings, select the Settings (Cog) icon located in the top-right corner of the screen.
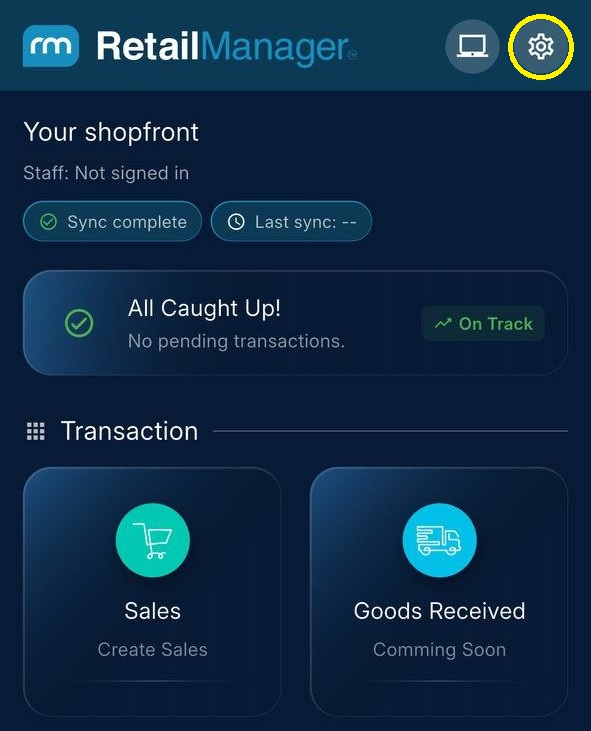
The following options are available:
Server Info
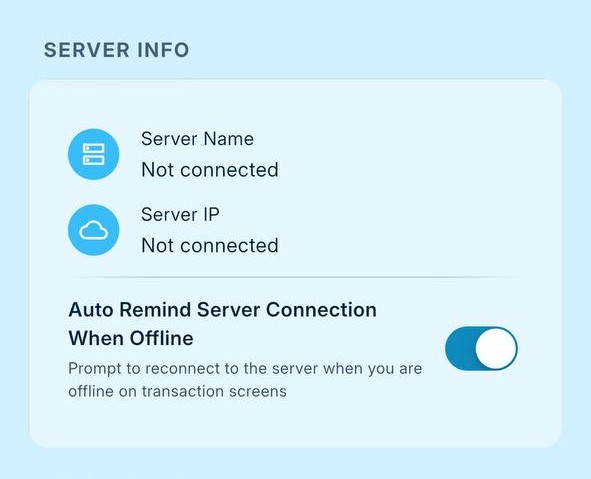
The Server Info section displays the server details that your device is currently connected to, including:
Server Name
Server IP Address
You can enable the Auto Remind to Reconnect option. This is particularly useful when using RM Mobile away from your store in offline mode for tasks such as:
- Stocktakes
- Sales Transactions
When you return to the store, RM Mobile will automatically remind you to reconnect to the server and synchronise your data.
Shopfront
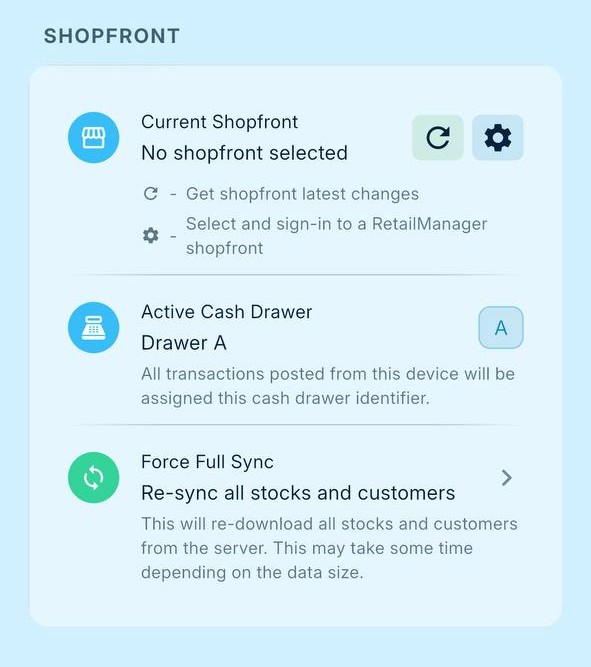
The Shopfront section displays the current shopfront you are connected to. Available options include:
Select Refresh to download the latest shopfront changes from the server.
If your business operates multiple shopfronts, select Settings to connect to a different shopfront.
The Cash Drawer Identifier allows you to assign transactions from a mobile device to a separate cash drawer.
This is useful when:
- Mobile devices are used independently from main POS terminals.
- Staff conduct sales while travelling or attending events.
- Separate cash-up reporting is required.
Using unique cash drawer identifiers can make it easier to identify and investigate discrepancies. Changing the cash drawer is done in the AAAPOS RM Mobile Service Hub located on your server pc.
If required, you can force RM Mobile to perform a complete re-synchronisation of all stock and customer records.
Staff Profile
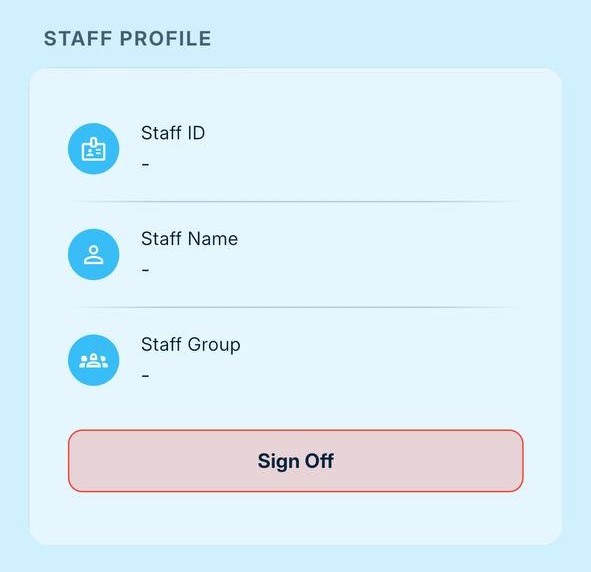
The Staff Profile section displays:
- The currently logged-in staff member.
- The staff security group assigned to that user.
If Multi-Level Security is enabled in RetailManager, the staff group determines which functions and features the user can access.
To sign in as a different user:
- Select Sign Out.
- Enter the new Staff ID and Password.
- Select Sign In.
Appearance
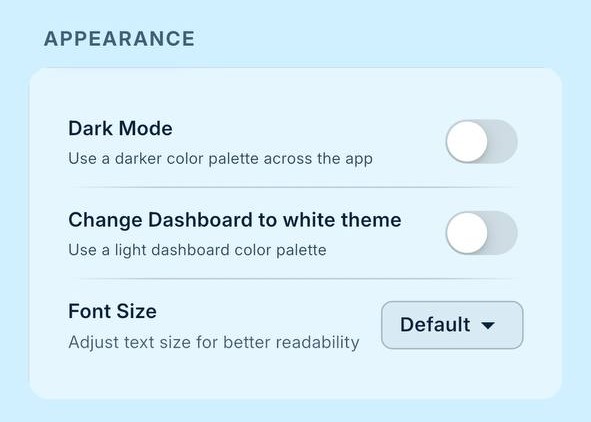
The Appearance section allows you to customise the look and feel of RM Mobile.
Available options include:
Switch between:
- Light Mode
- Dark Mode
Enable a white background dashboard theme if preferred.
Increase the font size to Large for improved readability.
Data & Backup
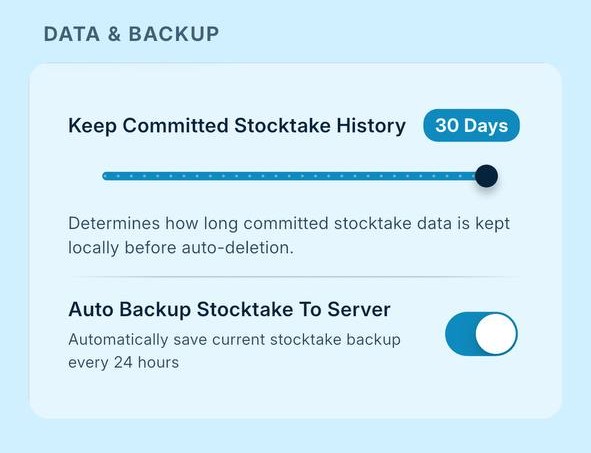
The Data & Backup section provides options for managing stocktake history and backups.
This decides how many days the committed stocktake history should be retained.
Enable automatic stocktake backups.
This feature is recommended because it allows you to:
- Review previous stocktakes.
- Restore accidentally deleted stocktake data.
Maintenance
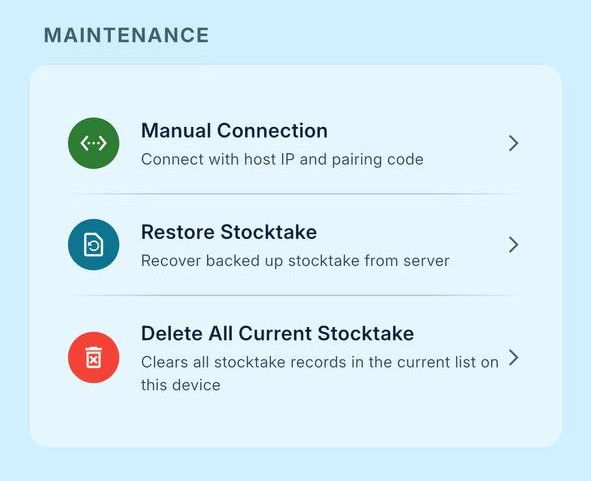
The Manual Connection feature allows you to manually connect RM Mobile to a RetailManager server.
To Connect an Existing Mobile Device
Select Manual Connection on the mobile device.
On the server PC, open the RM Mobile application.
Select Paired Devices.
Select Manage.
Highlight the required mobile device.
Select Show Code.
Enter the following information on the mobile device:
Host/Server IP Address
Pairing Code
Port Number
Select Connect.
Choose the required shopfront.
Enter your Staff ID and Password
Connecting a New Mobile Device
If you are connecting a new device for the first time, refer to:
“How to Install, Edit and Configure RetailManager Shopfronts and Paired Devices”
located in the AAAPOS RM Mobile Hub Tutorials
The Restore Stocktake option allows you to recover a previously backed-up stocktake from the server.
This is useful if:
- A stocktake was accidentally deleted.
- Incorrect changes were made.
- Historical stocktake data needs to be restored.
To restore a stocktake:
- Select Restore Stocktake.
- Review the available backups displayed by date and time.
- Select the backup you wish to restore.
Use this option only when you want to remove all stocktake records currently stored on the device.
To delete all stocktake data:
- Select Delete All Current Stocktake.
- Confirm by selecting Delete All.
Support
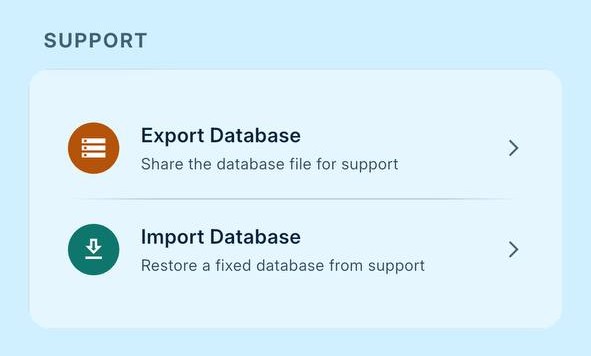
The Support section includes options to:
- Export the database
- Import the database
These functions should only be used when specifically instructed by an AAAPOS Support Team member.
